
To learn how to do more than cut and paste Imperial Star Destroyers into pictures of the Capitol, I decided to take a half day and learn how to do some actual illustrating with Photoshop. The first thing I learned is that there are a few simple tricks to get you started. Take this image for instance:
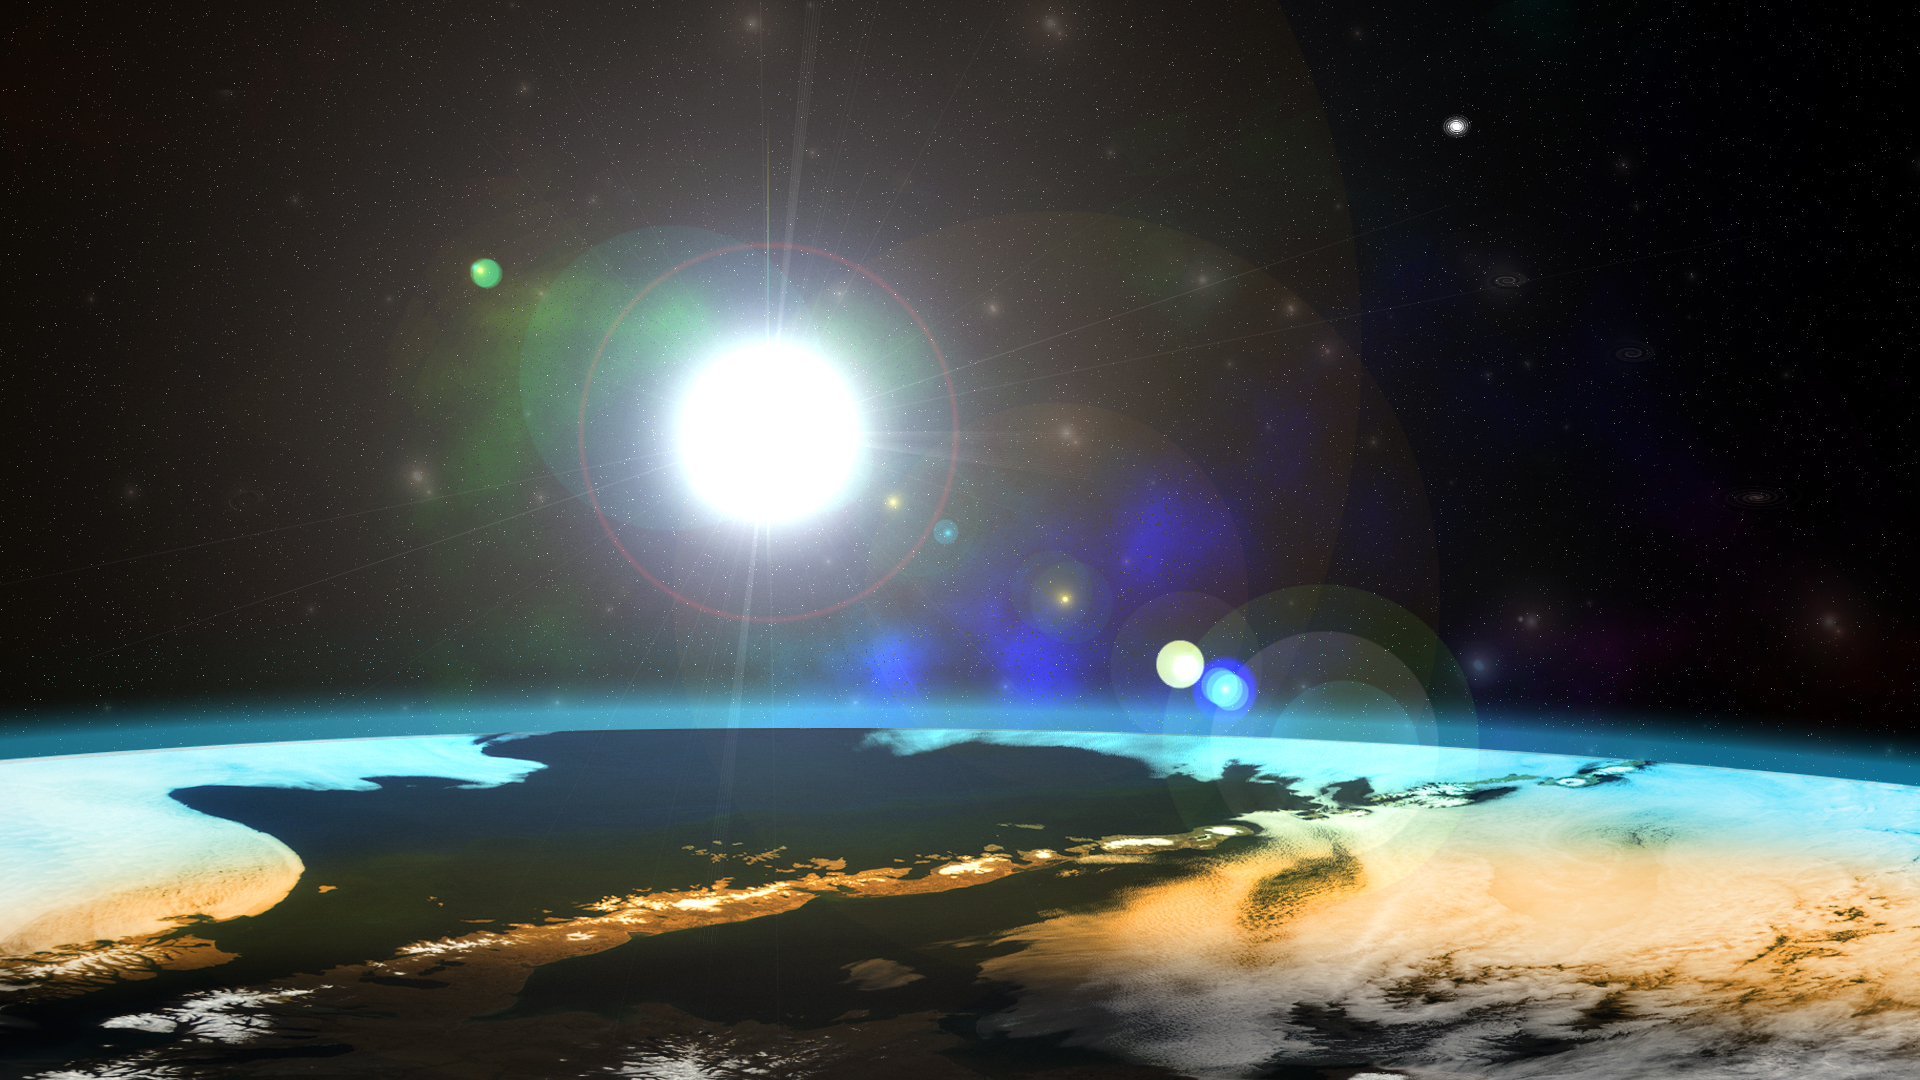
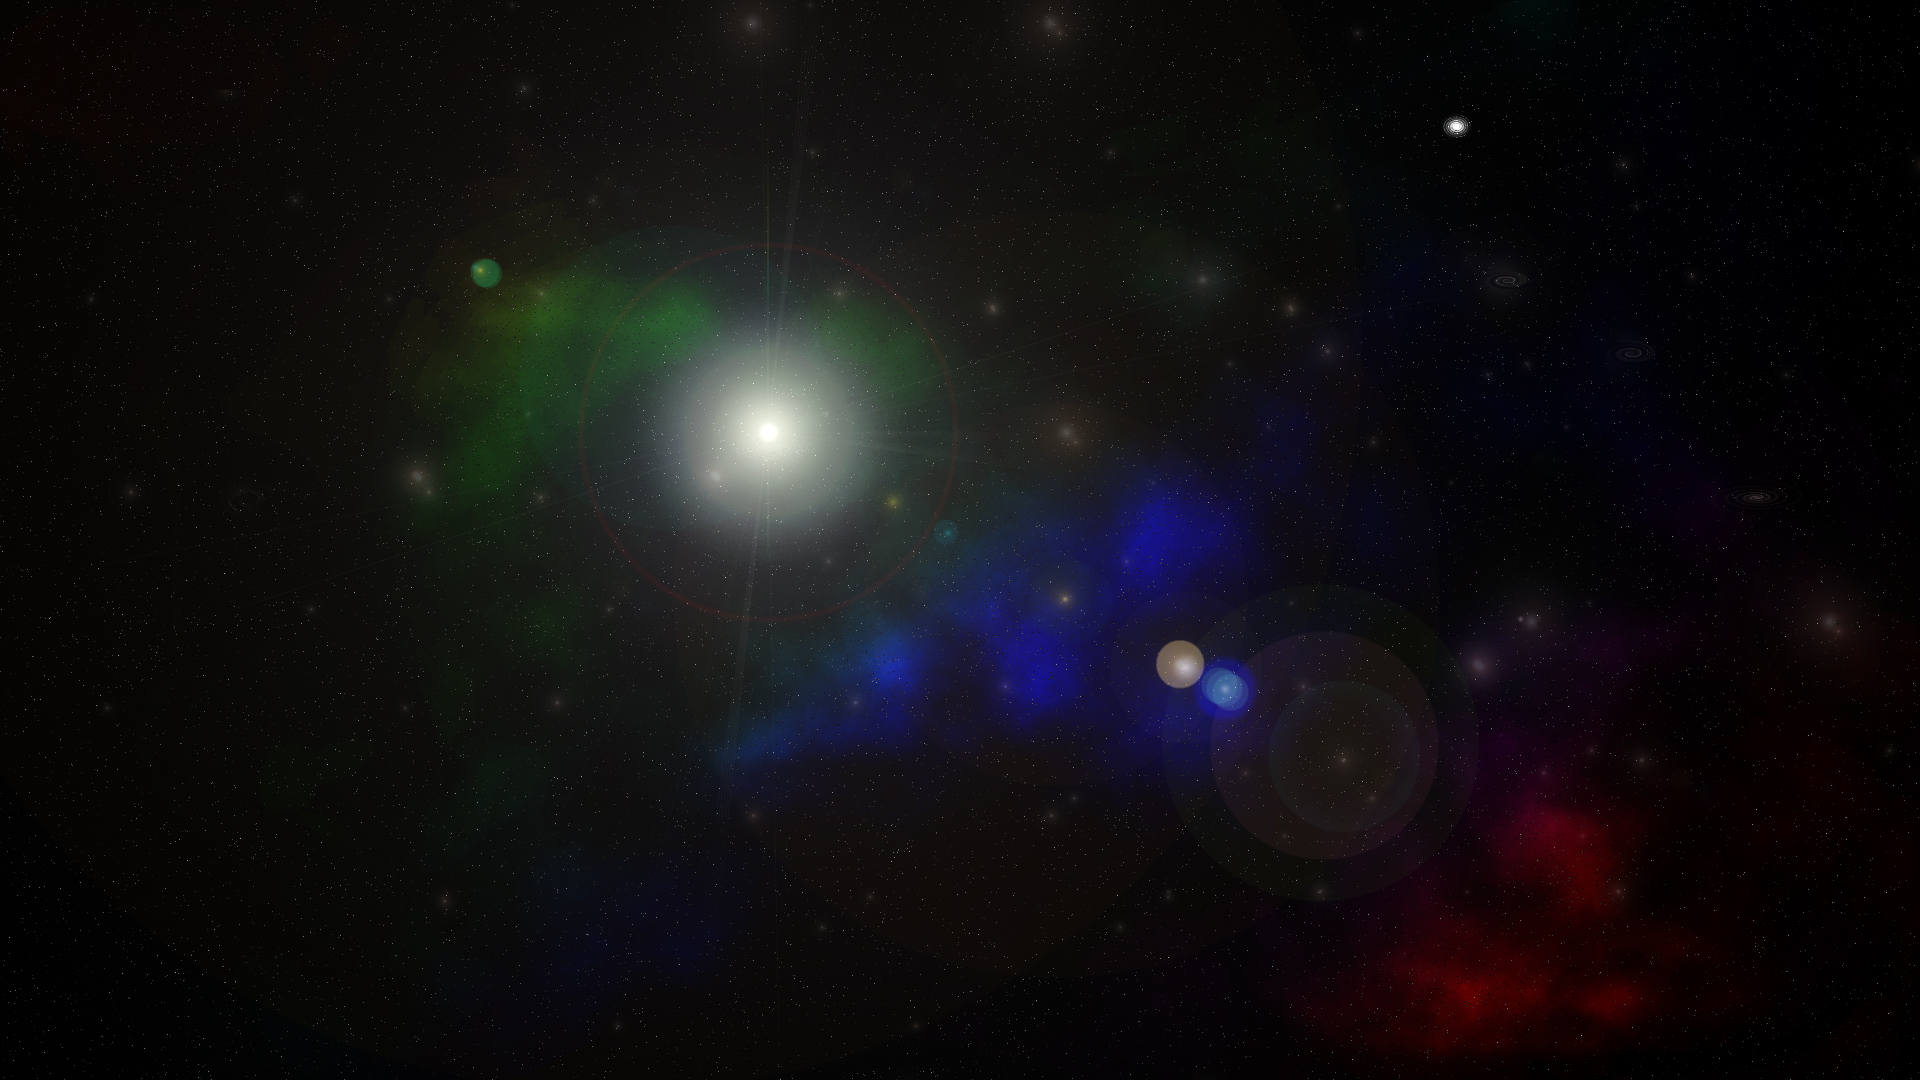 Make a difference cloud and add a rainbow overlay. Add a lens flare and another layer of interference for “stars” and you’ve got yourself a pretty cool looking scene from Star Trek. But if this is Star Trek, we’ve got to have some cool places to boldly go. Take a NASA photo of the Aleutian Islands, turn it upside down, cut a curve and add some orange and blue transparency to show off the cool alien atmosphere and we’ve got a planet!
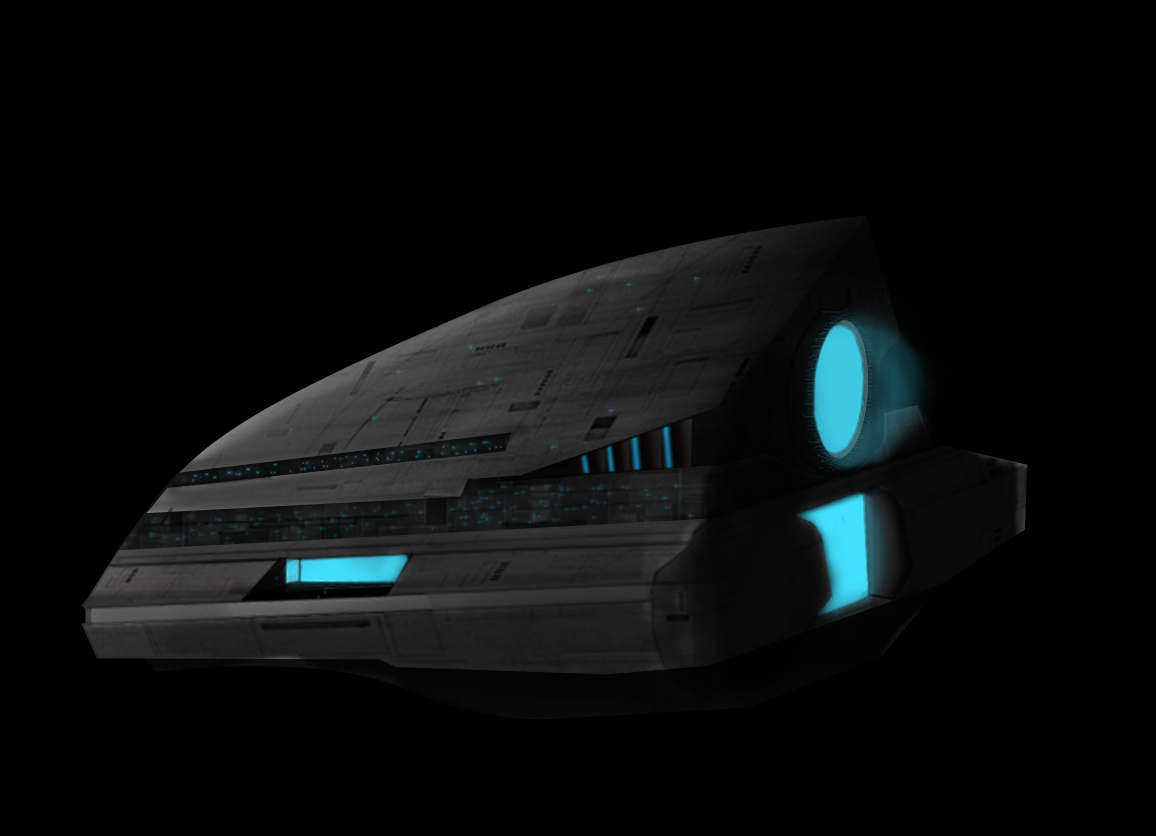
All we need to do is have a spaceship to get there… Thanks to Ed Lopez with TutsPlus, we’ve got our spaceship:
Ed’s tutorial even shows you how to build a fleet. I’m more of a Marco Polo than a Christoper Columbus, so no invading fleet for me. Here’s everything put together:
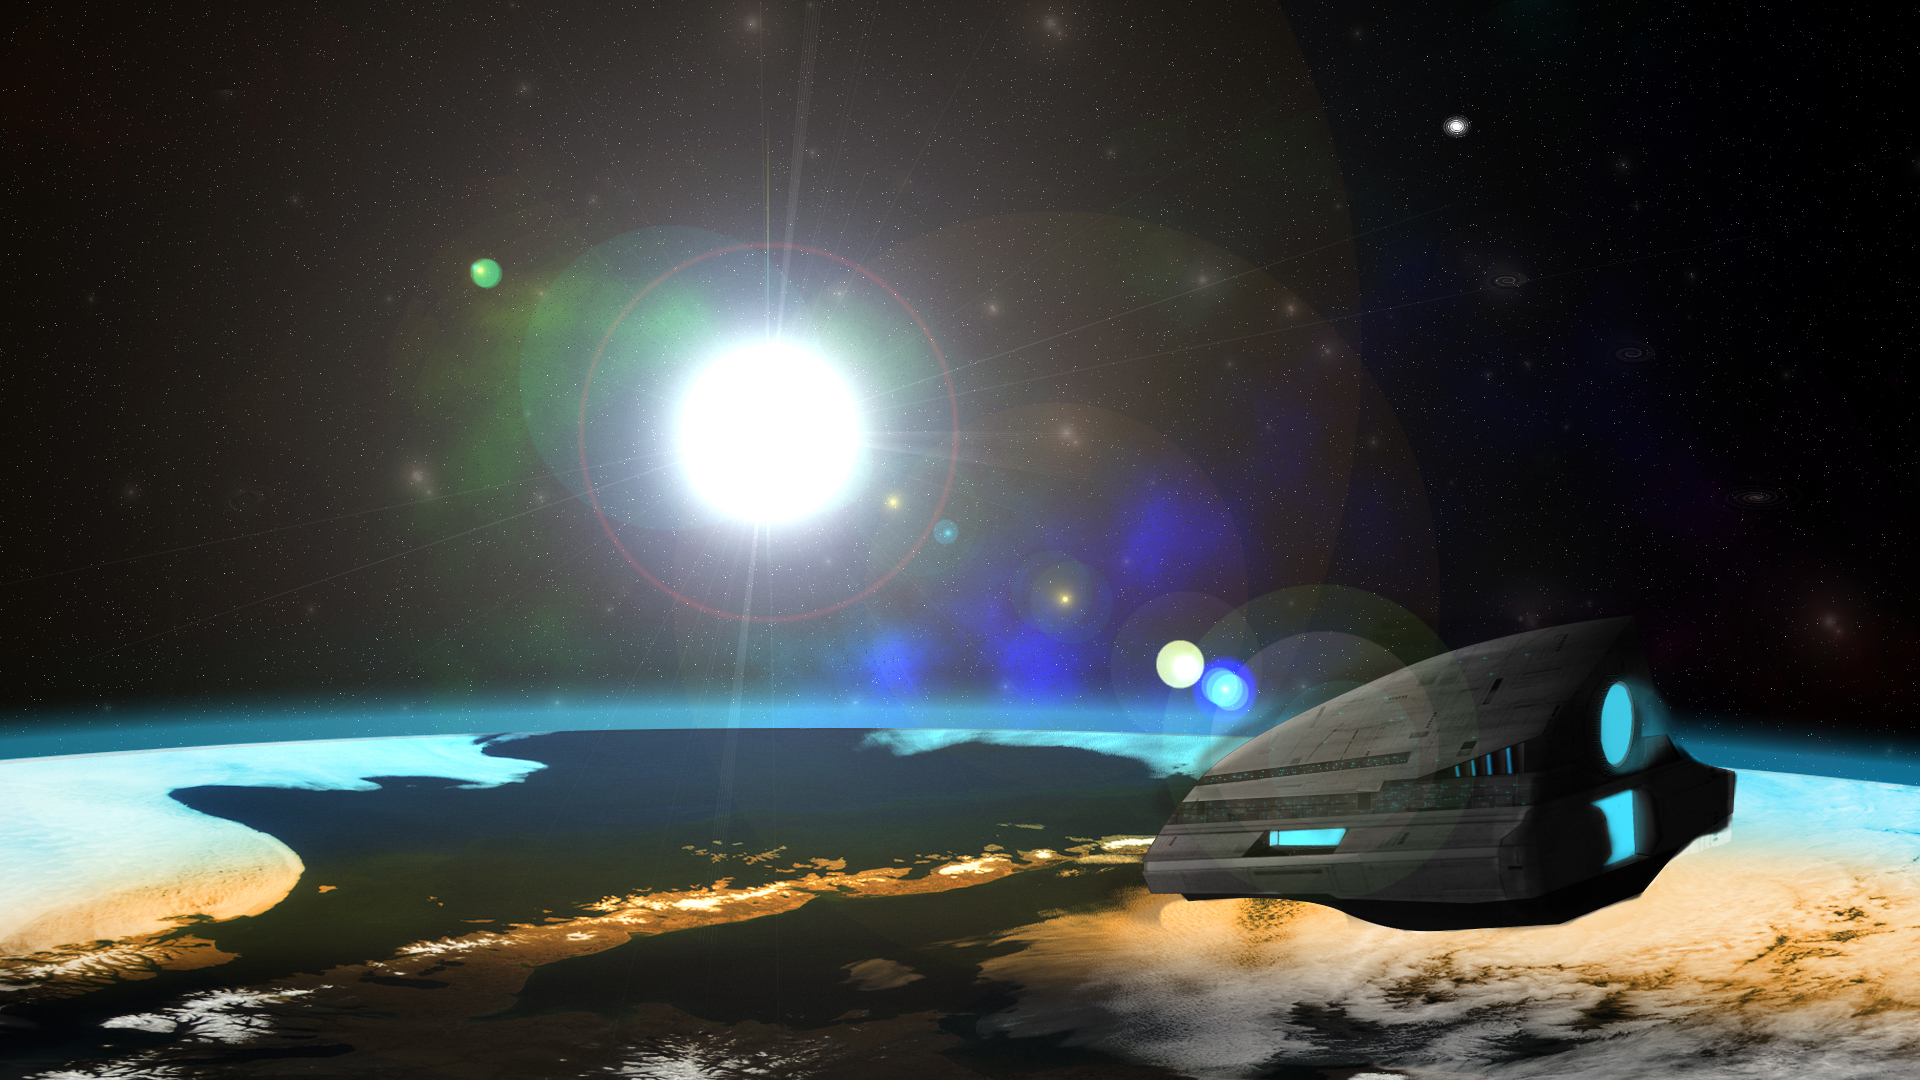 All in all, I learned more about how little I know about graphic design! The sheer level of detail that goes into this stuff is incredible.